16 November 2010

Rainy Days and Tuesdays...

...are perfect for kiln loading. Wadding doesn't dry out! What a gift! I'm working long hours and, as ever, enjoying the exquisite pain of assembling the 3 dimensional puzzle that we call a kiln. My back aches and I can't wait to get back to it tomorrow! 
The last pots for this firing...combing and pouring
 Here's a series of photos showing the top layer being loaded with a bunch of birds and odds and ends.It's 24" to the top o' the arch here.


I think I count 9 birds.
This is the first chamber two shelves deep. One more stack to go in front.
I loaded the  half of the second chamber before heading home.
As I was locking the gate the light from the jeep on the leaves was lovely. 

13 November 2010

Kiln Loading Eve

I lost most of yesterday to car troubles so, on the day I was to turn my thoughts to kiln loading, I was catching up on a variety of tasks. As I was driving home I was thinking about the number of different activities that can fill a day. 
Even before I got to the studio I had visited the Farmers' Market and checked in at LibertyTown.
And then:
I trimmed bread plates and handled a couple of bottles.
I then slipped and glazed some pots.
After that I mixed up my crackle slip and applied that to a bunch of pots.
Long after dark I was glazing the crackle slip pots.
A rack of pots, ready to be toasted by the fire.
The crackle slip is unique because it only works for a day or two or three. After that it still adds an interesting texture, but the crackle no longer appears. To keep it under control I mix a big dry batch and then add it by the cupful to the old wet batch until it starts to crackle again. It doesn't take a lot each time to rejuvenate the old batch.
I dip pots in it and I pour it over them, always playing with thickness and overlaps to alter the size and pattern.
The rest of the pots  waiting their turn.

10 November 2010

Health Update

A year ago I was getting out of the local hospital after undergoing surgery for colon cancer. Although no picnic, that whole procedure went along as well as it could and I've been feeling fit for a long time now. Today I got a colonoscopy as a follow up and got a clean bill of health! If you are of a certain age (50+) don't put off getting your own test! I was extraordinarily well cared for by the medical staff and some of my best friends and I got amazing support from near and far. It was overwhelming and gratifying and a source of great encouragement. Thank-you.

When I drove through the gate Tuesday I immediately spotted what turned out to be a red tailed hawk on the ground. I think it must have some kind of trouble...either visual or physical. it stayed around all day and I followed it for a while, into the woods and out. It blends into the fall colors nicely. It was beautiful and odd to get so close...it would let me get within 6 feet before walking or taking a very short flight away. We stood eyeball to eyeball for a while and I felt quite helpless. What to do but leave it be and hope that it was just stunned or out of sorts. I think it was a young one according to my bird book.
This is what I saw at first...it just caught my eye
I got really close....one eye might be cloudy?
Camouflage

08 November 2010

Salt-N-Pepa

With just a few days of throwing left I'm making some kiln fillers and space maximizers. I haven't made salt and pepper shakers seriously for a long time. They were fun. The form developed from a bud vase I've made tons of crossed with a candlestick/goblet stem. Only after I'd made a few did I realize that they bear a resemblance to old southern grave markers.
I'll drill proper holes after I've slipped them.
Tony Clennell wrote a great blog recently about his love for putting handles on everything. I am in complete agreement. I also like to let the seams show as they wrap around a rim. 

05 November 2010

Whew! I Thought I'd Lost You!

For some reason Mr. Blogger wouldn't let me access my dashboard for the last week or so and I feared that I had lost you all....all of a sudden it seems to back to normal (thanks Anna). It was really bugging me to think I'd have to start anew.  And so, onward and upward!
    Too much happened in that brief time to catch up,  so I'll let the photos tell the story. 1 more week to make pots before I start loading.
The latest and last serious bird piece for firing #9. 16"h
a blurry detail
loading up a biscuit kiln for pots that get my crackle slip
Some of what you've missed
Zolo at LibertyTown opened tonight, a story for another entry.

25 October 2010

5 Weeks To Go

Beakers
I am certain to have w-a-y too many pots by the time I load the kiln in mid November. That is an ideal situation to pack a kiln...lots of choices. So I'm feeling no pressure and really getting lots thrown. I finished up these cups and have since thrown larger bowls, 1 pint jugs, large casseroles, a few cups and saucers, 4 storage jars and couple of 9 lb. vases. Oh, what fun!
Paul,  Emily and Ellie's porch!

This is a famous bowl of Michael Cardew's, followed by my interpretation. Winchcombe makes a rounder version. Mine needs up a little more angular. You'll see what I mean when I trim them.


23 October 2010

You Asked For It: Issue #1

Brandon asked a good question of a previous post of mine.  I mentioned that I raw glaze and that I glaze the insides first with a liner and later slip them. His question was, 'how do you keep the slip from getting on the glaze'? It is a probably doing things backwards, but here's why I do it and the photos to illustrate how. 
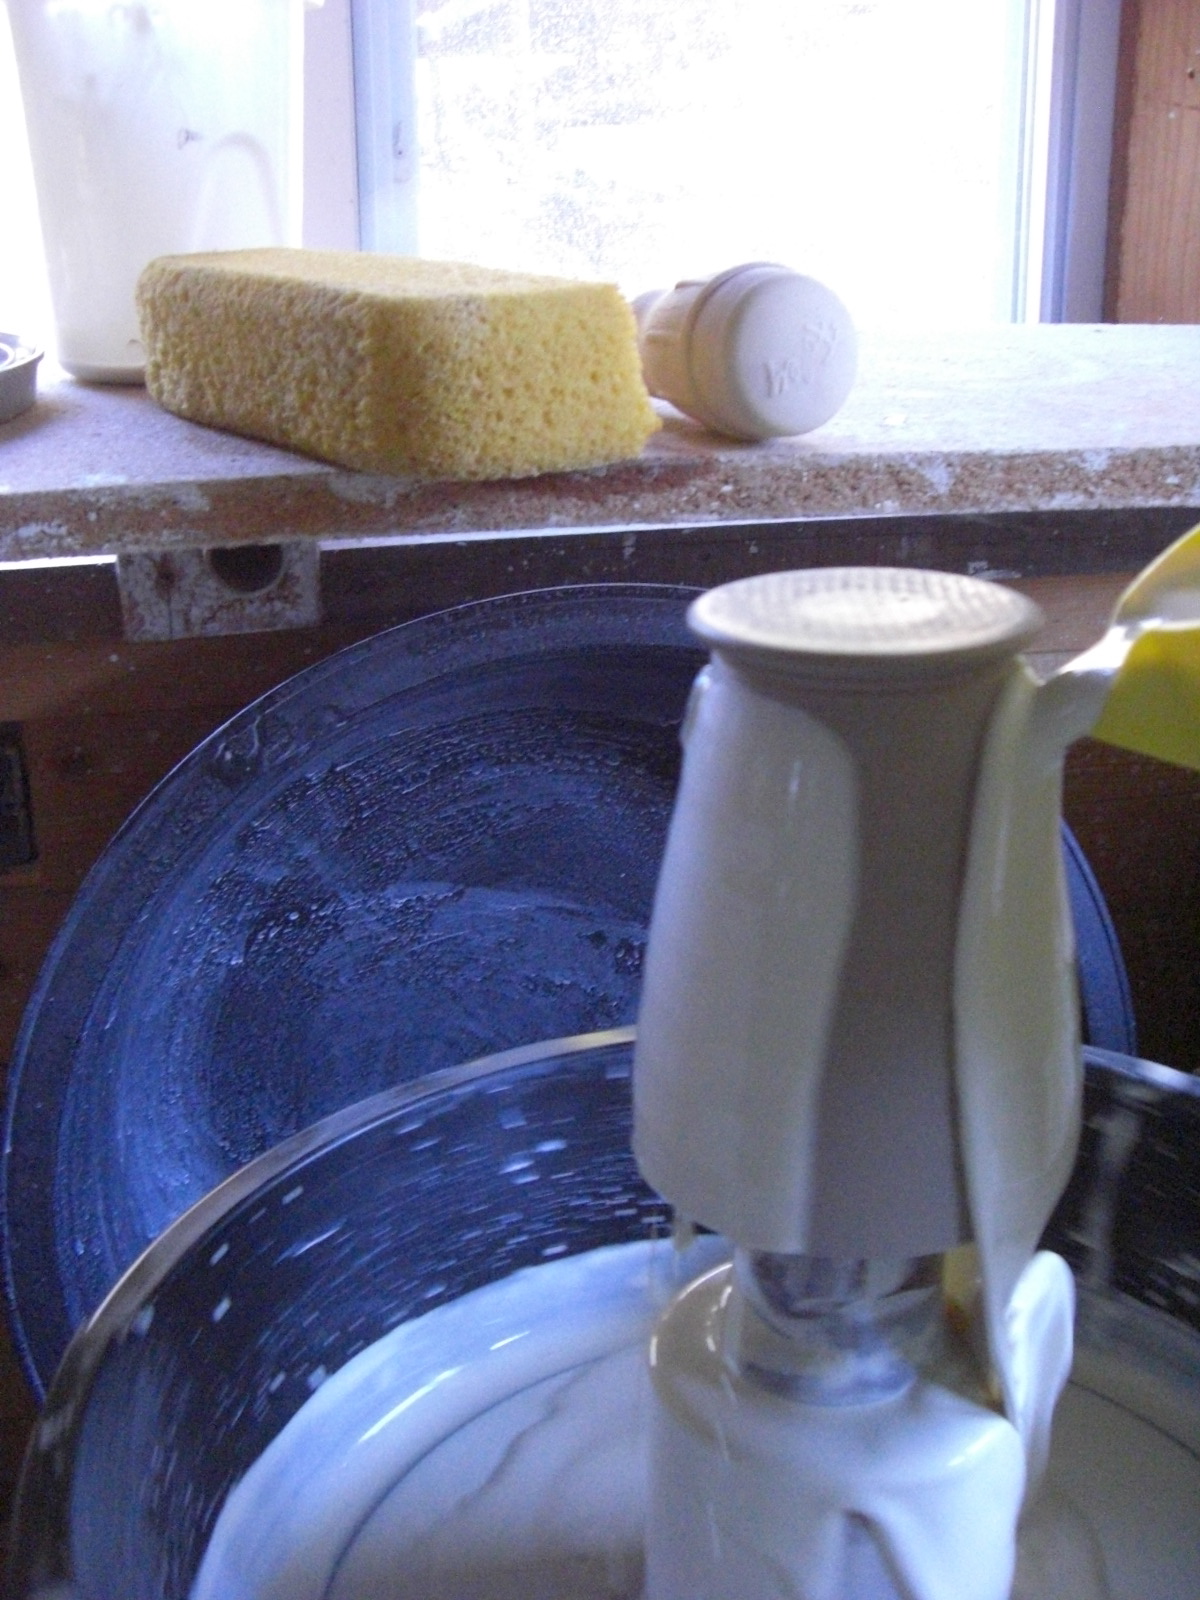
I used to get some handle cracking, but I now glaze the inside shortly after I apply the handles...everything rehydrates equally and...no cracking! Then I wipe the glaze back about an 1/8 of an inch inside. I like a clean line at the rims of my work and I can't get that in a more conventional way unless I'm willing to use a lot of wax (which I'm not). Put your slip on first, then glaze inside and the glaze sort of spills out over the rim in a way that doesn't please me. So,  below is my 'system'. After I pour the slip I use a brush along the rim to pick up the excess so there are no big drips when I turn it  on it's base. Does it take  a little longer to do? You bet it does! Does the finished result make it worthwhile...it does for me.


Photos are a bit grainy, taking them with one hand while pouring with the other!
Don S. came by the studio to show off his newest purchases. Some very nice juice cups. So how about a little quiz...name those makers!

19 October 2010

Follower Milestone

150 of you gentle readers are now following this here blog! When I first began writing I told myself that I would do it for my own edification and if anyone were to read along that would be a bonus. The truth is that I'm ridiculously flattered that you take the time to check in, whether it is on a regular basis or sporadically. Reading and writing in the blogosphere has been a very enriching experience and I continue to find it a bit of an obsession. I have new friends and I get to stay in much closer touch with old friends. There are folks I've yet to meet but look forward to one day being face to face. Thanks for coming along.
Standard teapots and a couple of minis.

Full frontal
The other side
The back side
I use 2 3/4 lbs of clay for the body of these. 1/2 lb for the spout and the same for the lid. The tiny one is 1/2 lb, fully functioning, of course!
I also made and finished another bird, a mere 2" high. Too cute! No photo today. Stay tuned...

More Avian Flu Results

What have I done to my classic teapot???

Birdlets - 5" h

16 October 2010

British Birds

Fresh from Toff's oven!
Click for bigger, juicier photo